

Have you ever craved a comforting bowl of noodles but felt limited by dietary needs? You’re not alone. Many people face the challenge of finding alternatives that are both delicious and easy to make. That’s where homemade noodles come in—offering a fresh, authentic experience right in your kitchen.
Creating your own dough might sound intimidating, but it’s simpler than you think. With the right blend of ingredients like brown rice flour and tapioca starch, you can achieve the perfect texture. Adding an extra egg ensures your dough stays tender and elastic, making it a joy to work with.
Tools like a pasta machine and rolling pin make the process smooth and efficient. Whether you’re a beginner or a seasoned cook, this step-by-step guide will help you master the art of making noodles. Plus, we’ll share tips to avoid common pitfalls like gummy or gritty results.
Ready to embark on this culinary adventure? Let’s dive in and discover how easy it is to create a dish that’s both satisfying and wholesome.
Key Takeaways
- Homemade noodles are simple to make with the right ingredients and tools.
- Using a blend of brown rice flour and tapioca starch ensures the perfect texture.
- Adding an extra egg keeps the dough tender and elastic.
- A pasta machine and rolling pin make the process efficient and enjoyable.
- This guide offers tips to avoid common issues like gummy or gritty results.
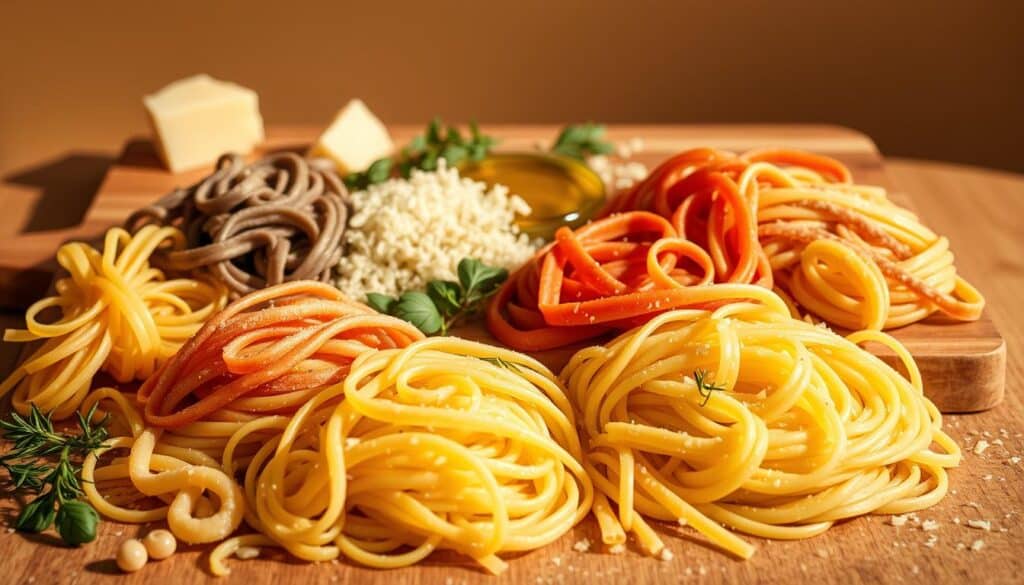
Essential Ingredients & Equipment for Your Gluten-Free Pasta Adventure
Starting your journey into homemade noodles begins with the right ingredients and tools. The quality of your dish depends on what you use, so let’s break down the essentials.
Key Gluten-Free Flours and Xanthan Gum
To achieve the perfect texture, you’ll need a mix of flours. Brown rice flour and tapioca starch are popular choices. They create a smooth and elastic dough. If your flour blend doesn’t include it, add xanthan gum. This ingredient mimics the elasticity of traditional dough, ensuring it holds together well.
Eggs play a crucial role too. They enrich the dough and help bind the ingredients. For best results, use fresh eggs and measure your ingredients accurately. A little attention to detail goes a long way.
Must-Have Tools: Pasta Machine, Rolling Pin, and More
Having the right tools makes the process smoother. A pasta machine ensures even thickness, while a rolling pin is great for hand-rolled options. Here’s a quick comparison of essential equipment:
| Tool | Purpose |
|---|---|
| Pasta Machine | Ensures uniform dough thickness |
| Rolling Pin | Ideal for hand-rolled dough |
| Measuring Cups | Accurate ingredient measurement |
| Mixing Bowl | Combines ingredients evenly |
Investing in quality tools can save you time and effort. Brands like Pillsbury and Better Batter offer reliable flour blends. With these essentials, you’re ready to create a dish that’s both delicious and satisfying.
Step-by-Step Process for Making Gluten-Free Pasta Dough
Creating your own dough from scratch can be a rewarding and simple process. With the right techniques, you’ll achieve a smooth and elastic texture perfect for shaping. Let’s walk through each step to ensure success.
Mixing Ingredients and Kneading the Dough
Start by combining your flour blend, xanthan gum, and a pinch of salt in a large bowl. Crack in an egg and add a bit of water. Use a fork to mix until the mixture becomes shaggy.
Switch to a wooden spoon to continue stirring. Once the dough starts to come together, use your hands to knead it. This helps develop elasticity. Knead for about 5-7 minutes until the dough is smooth and pliable.
Rolling Out and Shaping the Pasta
Lightly dust your countertop with rice flour to prevent sticking. Divide the dough into smaller portions for easier handling. Use a rolling pin or pasta machine to flatten each piece.
If using a machine, start at the widest setting and gradually roll the dough thinner. Stop at the second-to-last setting to avoid over-thinning. This ensures the dough holds its shape during cooking.
Shape the dough into your desired form. You can hand-cut noodles or use specific cutters for uniformity. For best results, cook the noodles immediately or store them properly for later use.
| Tool | Purpose |
|---|---|
| Wooden Spoon | Initial mixing of ingredients |
| Rolling Pin | Hand-rolling dough |
| Pasta Machine | Evenly flattening dough |
| Rice Flour | Preventing sticking |
With these steps, you’ll have a batch of fresh, homemade dough ready to transform into a delicious dish. Follow the process carefully, and you’ll enjoy perfect results every time.
Quick Tips for Gluten Free Pasta Recipes
Mastering the art of gluten-free noodles requires attention to detail and a few expert tips. Whether you’re a beginner or a seasoned cook, these suggestions will help you avoid common pitfalls and achieve the perfect texture every time.
Preventing Gummy and Gritty Texture
One of the biggest challenges is ensuring your dough doesn’t turn out gummy or gritty. Start by adjusting moisture levels. If the dough feels too dry, add a bit of water. If it’s too sticky, sprinkle in a little extra flour.
Let the dough rest for at least 10 minutes. This allows the ingredients to hydrate properly, improving consistency. Avoid overworking the dough, as this can lead to a tough texture.
When shaping, avoid using a spaghetti cutter. Gluten-free dough tends to tear more easily. Instead, opt for wider shapes like fettuccine or hand-cut noodles for better results.
Optimal Thickness Settings on Your Pasta Machine
Your pasta machine is a key tool for achieving the right thickness. Always stop one notch away from the thinnest setting. This prevents tearing and ensures the dough holds its shape during cooking.
Here’s a quick guide to machine settings:
- Start at the widest setting for initial rolling.
- Gradually move to thinner settings, stopping at the second-to-last notch.
- Check the dough’s consistency after each pass to ensure it’s smooth and even.
Handling the dough with care is crucial. Use your hands to gauge its elasticity and adjust as needed. With these tips, you’ll create noodles that are tender and perfectly textured.
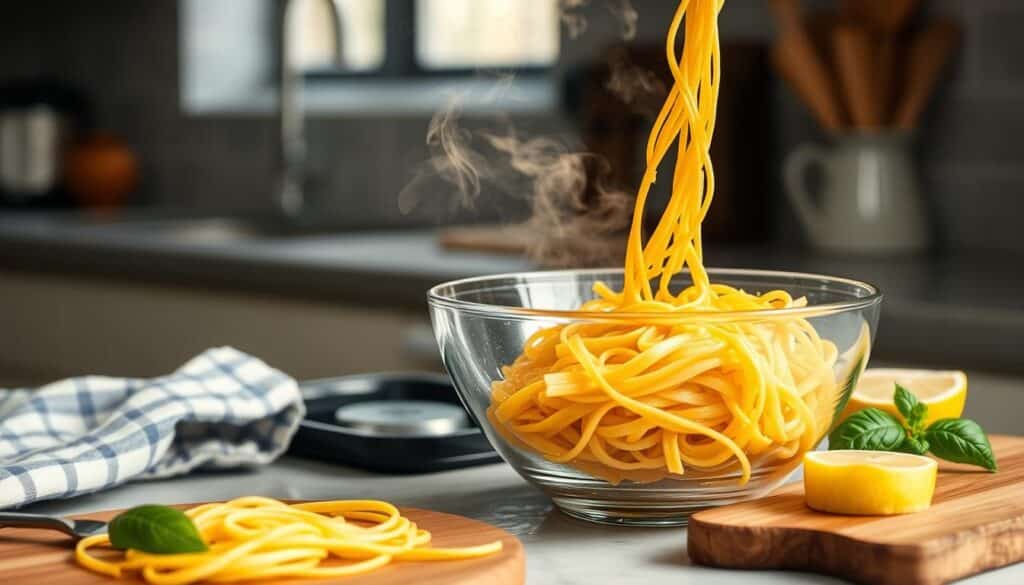
Cooking and Serving Your Homemade Pasta
Cooking your homemade dish to perfection is the final step in creating a memorable meal. With the right techniques, you can ensure your creation is tender, flavorful, and perfectly paired with complementary sauces. Let’s explore how to boil, time, and enhance your dish for the best results.
Boiling Techniques and Sauce Pairing
Start by bringing a large pot of salted water to a rolling boil. Add your noodles and cook for about 5 minutes, stirring occasionally to prevent sticking. Freshly made dough cooks faster than store-bought, so keep a close eye on the time.
Once cooked, drain the noodles and briefly sauté them in a pan with garlic, butter, and fresh herbs. This step adds depth to the flavor and ensures the dish is not too dry. Pair your creation with a variety of sauces, such as marinara, pesto, or a creamy Alfredo, to elevate the meal.
Adjusting Cooking Times for Perfect Texture
Cooking times vary depending on the thickness of your dough. Thinner noodles may take only 3-4 minutes, while thicker shapes might need up to 6 minutes. Taste a piece to check for the ideal al dente texture—firm but not hard.
Here’s a quick guide to cooking times based on thickness:
| Thickness | Cooking Time |
|---|---|
| Thin (e.g., fettuccine) | 3-4 minutes |
| Medium (e.g., tagliatelle) | 4-5 minutes |
| Thick (e.g., pappardelle) | 5-6 minutes |
Enhancing Flavor with Fresh Ingredients
Fresh ingredients can transform your dish into something extraordinary. Add lemon zest for a bright, citrusy note or sprinkle grated Parmesan cheese for a rich, savory finish. Fresh herbs like basil, parsley, or thyme also add a burst of flavor.
For a touch of elegance, drizzle high-quality olive oil over the finished dish. These small additions make a big difference, turning a simple meal into a gourmet experience.
With these tips, you’ll master the art of cooking and serving your homemade creation. Enjoy the process and savor the delicious results!
Troubleshooting and Adjustments for Gluten-Free Pasta Dough
Working with dough can sometimes be tricky, but with the right adjustments, you can achieve the perfect texture. Whether your dough is too dry or too sticky, these tips will help you troubleshoot and improve your results.
Fixing Dry or Sticky Dough Issues
If your dough crumbles or feels dry, add a bit of water and knead it again. Start with a teaspoon and gradually increase until the dough feels smooth. On the other hand, if it’s too sticky, sprinkle in a little extra flour and knead until it reaches the right consistency.
Letting the dough rest for 10-15 minutes can also help. This allows the ingredients to hydrate properly, making it easier to work with. If you’re still having trouble, try re-kneading the dough to distribute moisture evenly.
Improving Consistency and Elasticity
Kneading is key to achieving the right elasticity. Use your hands to feel the dough’s texture. It should be smooth and pliable, not tough or brittle. If it feels too stiff, add a small amount of water and knead again.
Here’s a quick checklist to assess your dough’s quality:
- Is it smooth and not crumbly?
- Does it hold together without sticking to your hands?
- Does it stretch without tearing easily?
Remember, troubleshooting is part of the learning process. Small adjustments can lead to big improvements in your final dish. With these tips, you’ll master the art of creating the perfect dough every time.
Storing, Freezing, and Reheating Your Pasta Creations
Proper storage and reheating techniques can make your homemade creations last longer and taste just as fresh. Whether you’ve made extra dough or cooked a large batch, these tips will help you preserve quality and flavor.
Proper Storage Methods and Airtight Containers
For raw dough, wrap it tightly in plastic wrap to prevent air exposure. Place it in an airtight container or a resealable bag to keep it fresh for up to two days in the refrigerator. If you plan to use it later, freezing is a great option.
To freeze, divide the dough into portions and wrap each piece individually. Store them in a freezer-safe bag or container. Frozen dough can last up to three months. When ready to use, thaw it overnight in the refrigerator before shaping.
Best Practices for Reheating and Serving
Reheating cooked dishes requires care to maintain texture. For best results, place them in a pot of boiling water for about 1-2 minutes. Avoid overcooking, as this can make them mushy.
If using a microwave, sprinkle a bit of water over the dish and cover it with a damp paper towel. Heat in 30-second intervals, stirring in between, until warmed through. Pair with your favorite sauce for a quick and satisfying meal.
- Wrap raw dough tightly in plastic wrap and store in an airtight container.
- Freeze dough portions for up to three months and thaw overnight in the fridge.
- Reheat cooked dishes briefly in boiling water or the microwave with added moisture.
By following these methods, you can enjoy your homemade creations anytime without compromising on taste or texture.
Conclusion
Making your own dough at home is easier than you think, and the results are worth the effort. With the right flour blend and tools, you can create a smooth, elastic texture perfect for shaping. From mixing to rolling, each step is simple and rewarding.
If you encounter issues like dry or sticky dough, small adjustments like adding a bit of water or extra flour can fix the problem. Experiment with different sauces and fresh ingredients to enhance the flavor of your dish.
Storing and reheating leftovers is straightforward. Wrap the dough tightly or freeze it for later use. When reheating, a quick boil or microwave with added moisture keeps the texture just right.
Your journey into homemade creations can be both fun and delicious. Share your successes and modifications to inspire others. Start today and enjoy the satisfaction of a meal made from scratch!