
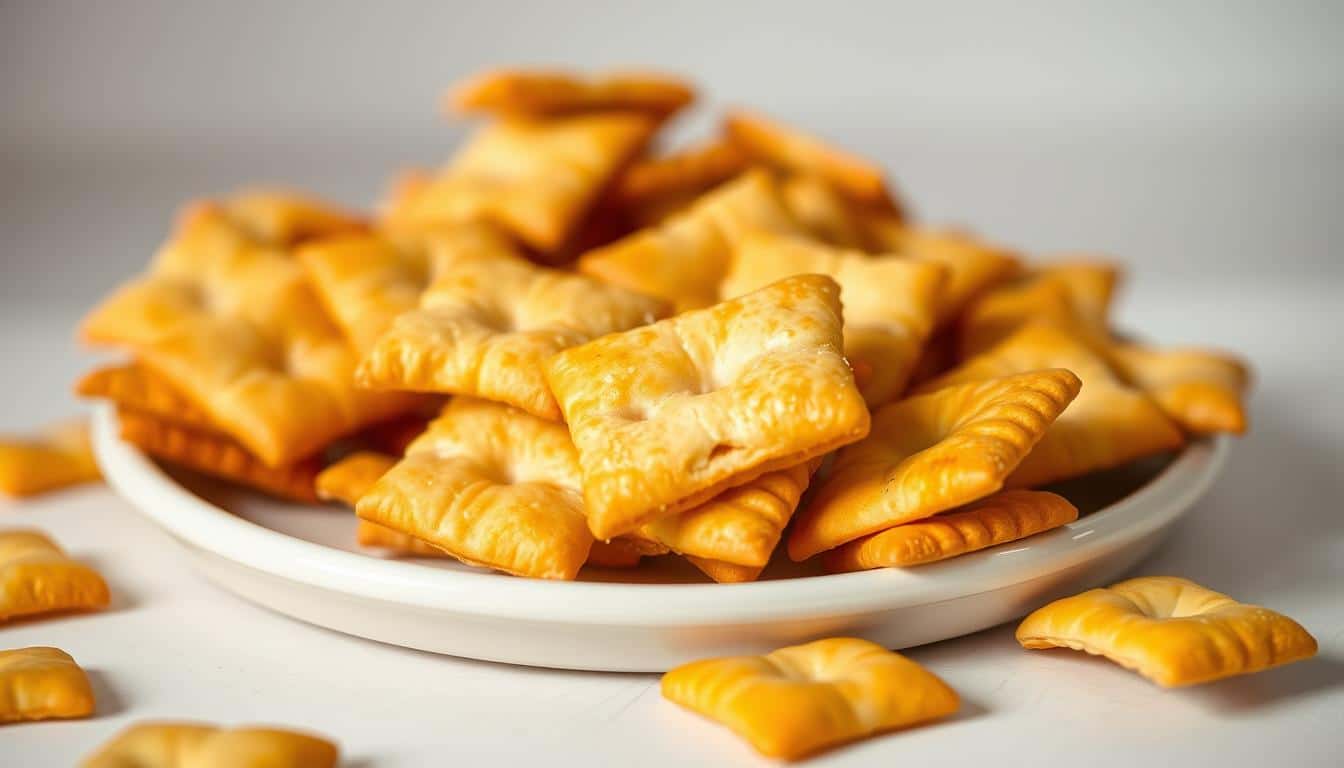
Craving a crispy, cheesy snack but want to keep it simple and healthy? This homemade version gluten free cheez it crackers recipe of a classic favorite is here to save the day. With just a few quality ingredients, you can recreate that iconic taste right in your kitchen.
This recipe uses sharp cheddar and a special flour blend to achieve the perfect texture and flavor. Cold ingredients like unsalted butter ensure the dough stays flaky and easy to work with. Plus, making these at home allows you to control what goes into your snack.
Whether you’re a seasoned baker or a beginner, this guide is designed to be straightforward. You’ll learn how to mix, shape, and bake these crackers to perfection. The result? A batch of golden, crispy bites that rival the store-bought version.
Key Takeaways
- Create a homemade version of a classic snack with simple ingredients.
- Sharp cheddar and a special flour blend ensure authentic flavor and texture.
- Cold ingredients like butter help achieve a flaky, easy-to-handle dough.
- Making these at home allows for healthier, customizable options.
- Follow easy steps to mix, shape, and bake for perfect results.
Introduction and Inspiration
Ever missed the crunch of your favorite cheesy snack but wanted a healthier option? Many of us have fond memories of enjoying those iconic bites, but dietary needs often call for a change. That’s where this recipe comes in—offering a way to relive the past while staying true to your lifestyle.
A Nod to Your Favorite Snack
For years, cheese crackers have been a go-to snack for their irresistible flavor and satisfying crunch. Whether it’s a quick bite during a busy day or a treat to share with friends, these snacks hold a special place in our hearts. This version captures that same essence but with a modern twist.
Meeting Your Dietary Needs
This recipe is designed to be inclusive, catering to various dietary restrictions. It’s gluten-free, nut-free, oat-free, and soy-free, making it a safe choice for many. Families have shared how this version has become a staple in their homes, offering a healthier alternative without sacrificing taste.
“I never thought I’d find a snack that’s both delicious and fits my dietary needs. This recipe is a game-changer!”
By using sharp cheddar and a special flour blend, this recipe achieves an authentic cheesy flavor that rivals the original. It’s proof that you don’t have to compromise on taste to meet your dietary goals. Ready to dive into the details? Let’s explore the ingredients and steps that make this snack a standout.
Ingredients and Essential Tools
Creating the perfect snack starts with the right ingredients and tools. To achieve that iconic crunch and flavor, every component matters. From the type of cheese to the flour blend, each choice impacts the final result. Let’s dive into what you’ll need to make this snack a success.
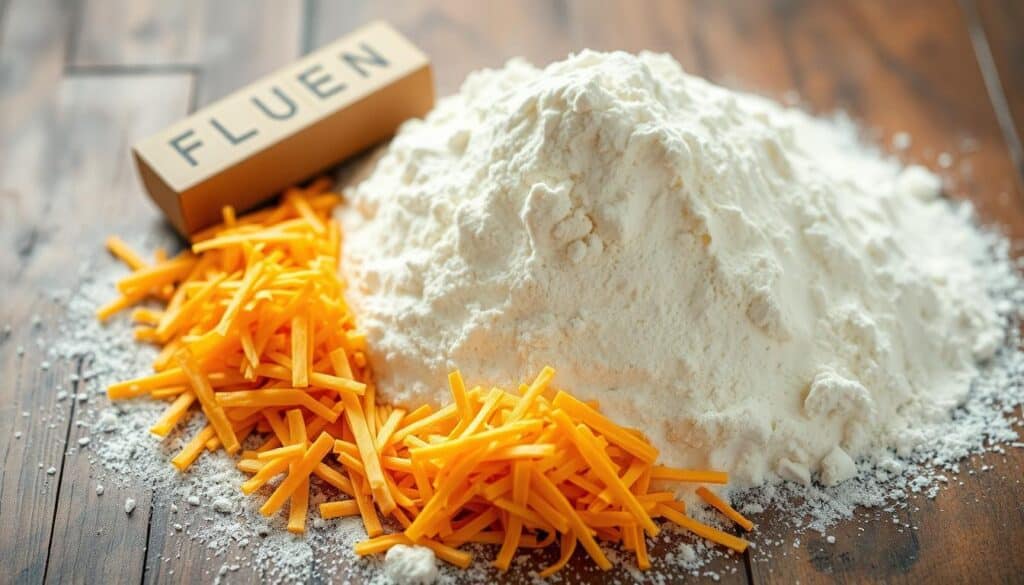
Key Ingredient Spotlight: Sharp Cheddar and Gluten-Free Flour
The star of this recipe is sharp cheddar cheese. Freshly grated cheese melts better and delivers a richer flavor compared to pre-shredded options. It’s the key to achieving that authentic cheesy taste.
For the dough, a high-quality gluten-free flour blend is essential. Brands like Bob’s Red Mill, King Arthur’s, and Cup4Cup are excellent choices. These blends ensure the right texture and consistency, mimicking traditional flour without compromising on taste.
Must-Have Kitchen Gadgets for Success
Having the right tools makes the process smoother and more efficient. Here’s what you’ll need:
- Food Processor: Perfect for blending the dough quickly and evenly.
- Rolling Pin: Dusted with gluten-free flour to prevent sticking and ensure even thickness.
- Pastry Wheel or Pizza Cutter: Ideal for cutting the dough into uniform shapes.
Precision is key. Using a digital scale to measure ingredients ensures consistency and helps replicate that perfect crunch every time.
| Brand | Best For | Texture |
|---|---|---|
| Bob’s Red Mill | Versatility | Light and Flaky |
| King Arthur’s | Baking | Soft and Chewy |
| Cup4Cup | All-Purpose | Smooth and Consistent |
With these ingredients and tools, you’re ready to move on to the next step: preparing and baking your snack. Stay tuned for detailed instructions on mixing, shaping, and achieving that golden finish.
Preparation and Baking Process
Ready to transform simple ingredients into a crispy, cheesy delight? The key to success lies in the details. From mixing the dough to shaping and baking, each step ensures your snack turns out perfectly.
Mixing and Forming the Dough
Start by adding your ingredients to a food processor. Pulse on medium speed until the mixture resembles coarse crumbs. This ensures the cheese and flour blend are evenly distributed. Cold ingredients, like butter, are crucial for achieving the right texture.
Once combined, transfer the mixture to a clean surface. Use your hands to gently press the dough into a ball. If the dough feels too dry, add a teaspoon of cold water. If it’s too sticky, sprinkle a bit more flour blend. The goal is a smooth, pliable consistency.
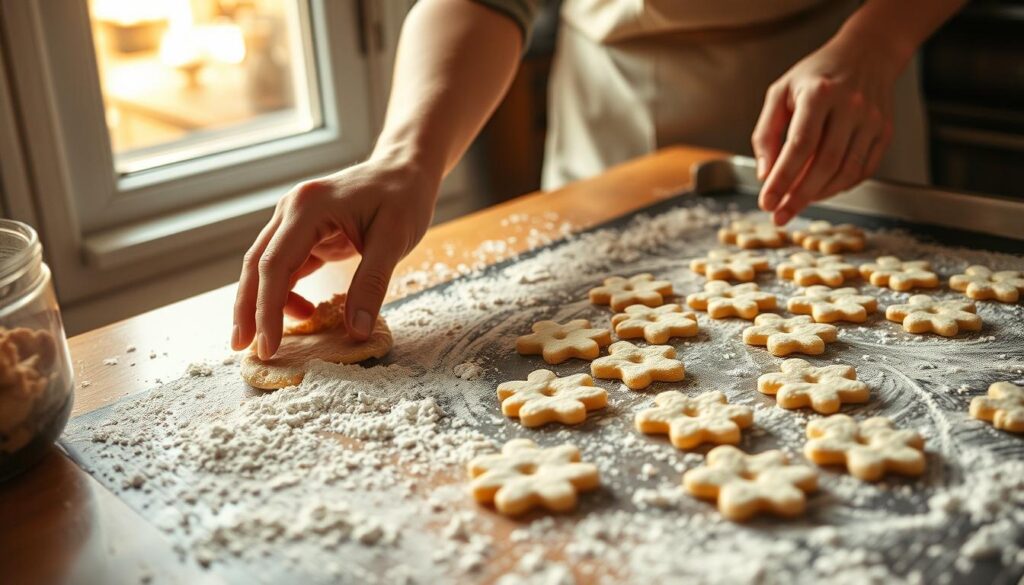
Rolling, Cutting, and Shaping Your Crackers
Roll the dough as thinly as possible—ideally less than 1/8-inch thick. This ensures your crackers bake up crispy. Use a lightly floured surface to prevent sticking. A pizza cutter or pastry wheel is perfect for cutting the dough into uniform squares.
Place the squares on a baking sheet, leaving space between each one. This prevents them from sticking together during baking. For a traditional look, use a chopstick to poke a hole in the center of each square.
“The secret to perfect crackers is even rolling and proper spacing. Take your time, and the results will be worth it.”
Here are some troubleshooting tips for common issues:
- Too sticky dough: Add a bit more flour blend and chill for 10 minutes.
- Too dry dough: Sprinkle a teaspoon of cold water and knead gently.
- Uneven baking: Rotate the baking sheet halfway through the cooking time.
With these steps, you’re well on your way to creating a batch of golden, crispy crackers that everyone will love.
gluten free cheez it crackers recipe Details
Mastering the art of homemade snacks starts with precise measurements and attention to detail. Achieving the perfect texture for your snack requires careful adjustments to the dough. Let’s explore how to fine-tune your mixture for the best results.
Fine-Tuning Your Dough Mixture
The right balance of water and flour is crucial for the perfect dough. If your mixture feels too dry, add a teaspoon of cold water and knead gently. For dough that’s too sticky, sprinkle a bit more flour blend to achieve a smooth consistency.
Recognizing the ideal texture is key. Your dough should be pliable but not sticky, and it should hold its shape when rolled. This ensures your crackers bake up crispy and golden.
Ingredient Temperature and Measurement Precision
Cold ingredients, like butter, help maintain the dough’s structure. Use a digital scale or the “spoon and level” method to measure your flour blend accurately. This minimizes errors and ensures consistent results.
Every gluten-free flour blend varies in starch-to-grain ratio. Brands like Bob’s Red Mill or King Arthur’s offer reliable options. Choosing a trusted brand ensures your dough has the right texture and consistency.
Troubleshooting Common Issues
Here are some quick fixes for common dough problems:
- Too dry: Add a teaspoon of cold water and knead gently.
- Too sticky: Sprinkle more flour blend and chill for 10 minutes.
- Uneven baking: Rotate the baking sheet halfway through.
| Issue | Solution |
|---|---|
| Dry Dough | Add cold water |
| Sticky Dough | Add flour blend |
| Uneven Baking | Rotate baking sheet |
With these tips, you’re ready to create a batch of perfectly balanced crackers. Next, we’ll explore exciting flavor variations to elevate your snack game.
Flavor Enhancements and Recipe Variations
Looking to add a personal touch to your homemade snack? Let’s explore creative ways to elevate the flavor and appearance of your crackers. With a few simple tweaks, you can transform the classic recipe into something uniquely yours.
Optional Seasonings and Creative Customizations
Adding extra seasonings is an easy way to enhance the taste of your crackers. Try sprinkling garlic powder, onion powder, or a pinch of extra salt into the dough. These small additions can make a big difference in flavor.
For a fun twist, use cookie cutters to shape your dough. Stars, fish, or even hearts can make your snack more appealing, especially for kids. A pizza cutter also works well for uniform squares.
Switching ingredients can also change the taste and texture. Instead of sharp cheddar, try mild cheddar for a subtler flavor. You can also experiment with alternative fats like coconut oil for a unique twist.
- Crunchier Version: Roll the dough thinner and bake a few minutes longer.
- Chewier Version: Keep the dough slightly thicker and reduce baking time.
- Seasoning Balance: Start with small amounts and adjust to taste.
Each variation keeps the essence of the original snack while allowing for personal flair. Whether you’re adding spices or trying new shapes, these ideas make your snack truly one-of-a-kind.
Storage, Serving, and Nutritional Insights
Discover how to keep your homemade snacks fresh and flavorful with these storage tips. Properly storing your creations ensures they stay crispy and delicious for days. Plus, we’ll share serving ideas and nutritional details to make your snack even more enjoyable.
Storing Your Snacks for Maximum Freshness
To maintain the crunch of your homemade treats, store them in an airtight container. This prevents moisture from softening the texture. Keep the container at room temperature for 2-4 days for the best results.
If you’ve made a large batch, consider freezing them. Place the snacks in a single layer on a baking sheet and freeze for an hour. Then, transfer them to a freezer-safe bag for up to a month. Reheat in the oven for a few minutes to restore their crispiness.
Nutritional Breakdown and Serving Suggestions
Each bite of your homemade snack is not only delicious but also nutritious. Here’s a quick nutritional breakdown per serving:
- Calories: 50-60
- Protein: 2g
- Fat: 3g
- Carbohydrates: 5g
Pair your snacks with dips like cream cheese or hummus for added flavor. They also make a great addition to party platters or as a quick, healthy snack on the go.
After baking, let the snacks cool on a wire rack. This helps them firm up and retain their texture. Avoid stacking them while warm, as this can cause them to soften.
“Proper storage and cooling are key to maintaining the perfect crunch. A little extra care goes a long way!”
By following these tips, you’ll ensure your homemade snacks stay fresh, flavorful, and ready to enjoy anytime.
Conclusion
Ready to elevate your snack game with a homemade twist? This recipe offers a simple, satisfying way to create crispy, cheesy treats right in your kitchen. From selecting quality ingredients to rolling and baking the dough, each step is designed for ease and success.
Customizing your cracker flavors is part of the fun. Experiment with seasonings or shapes to make them uniquely yours. Plus, you’ll enjoy the nutritional benefits of knowing exactly what goes into your snack.
Share your creations on social media and tag us—we’d love to see your take on this classic treat. Whether you’re new to baking or a seasoned pro, this recipe proves that homemade snacks can be both delicious and easy to make.