
There’s something magical about recreating a cherished family tradition. For many, the aroma of a light, tender breakfast treat brings back fond memories of childhood mornings. This guide helps you capture that same magic with a versatile and easy-to-make recipe that works for both sweet and savory dishes.
Using a premium flour blend and simple ingredients like milk, butter, and eggs, this recipe ensures a perfect texture every time. Whether you’re using a blender or a hand mixer, the process is straightforward and accessible. The result? A delicate, subtly sweet base ready for your favorite fillings.
This guide is designed to walk you through each step, from preparing the batter to cooking it to golden perfection. With tips on ingredient measurements and cooking techniques, you’ll master the art of making these delightful treats in no time.
Key Takeaways
- Recreate a nostalgic family breakfast tradition with this easy recipe.
- Perfect for both sweet and savory dishes, offering endless versatility.
- Use a hand mixer for accessibility, even without a blender.
- Key ingredients include premium flour blends and dairy-free milk alternatives.
- Follow detailed steps to achieve a light, tender texture every time.
Introduction: The Charm of Gluten-Free Crepes
Few breakfasts evoke as much warmth and nostalgia as a perfectly made morning treat. These thin, delicate delights have been a staple in households for generations, bringing families together over shared meals and cherished traditions. Today, we’re paying tribute to a beloved family recipe while introducing a modern twist that’s both healthier and more accessible.
A Nostalgic Recipe Tribute
This recipe is more than just a dish—it’s a connection to the past. Passed down through generations, it captures the essence of family gatherings and cozy mornings. The secret lies in the simplicity of the ingredients: high-quality flour, milk, butter, and eggs. These elements come together to create a batter that’s smooth, versatile, and perfect for both sweet and savory variations.
Why You’ll Love This Gluten-Free Twist
Modern adaptations make this recipe accessible to everyone. By using a premium flour blend and room-temperature milk, you ensure a consistent texture every time. Whether you’re avoiding gluten or simply exploring new options, this twist offers a healthier alternative without compromising on flavor.
Here’s what makes this version stand out:
- Versatility: Customize your dish with sweet fillings like Nutella or savory options like ham and cheese.
- Accessibility: A hand mixer simplifies the process, making it easy for anyone to master.
- Quality Ingredients: Using xanthan gum and premium flour ensures the perfect texture.
This recipe is a celebration of tradition and innovation, offering a delightful experience for every meal. Whether you’re preparing breakfast or a quick snack, these treats are sure to impress.
Gathering Premium Ingredients for a Unique Crepe Experience
The foundation of any great dish lies in the quality of its ingredients. For a truly exceptional experience, every component must be carefully selected. This ensures the perfect texture, flavor, and versatility for both sweet and savory variations.
Choosing the Right Flour Blend
A high-quality flour blend is the cornerstone of this recipe. Brands like Pillsbury and King Arthur offer excellent options that mimic the texture of traditional flour. These blends often include xanthan gum, which helps bind the batter and create a smooth consistency.
When measuring dry ingredients, use the “spoon & level” method. This ensures accuracy and prevents the batter from becoming too dense. A well-measured blend guarantees a light and airy texture every time.
Unveiling Essential Pantry Staples
Beyond the flour blend, certain pantry staples are crucial for success. Granulated sugar adds a subtle sweetness, while pure vanilla extract enhances the flavor profile. Xanthan gum is essential for binding, especially in gluten-free recipes.
Room-temperature eggs, milk, and butter are key to achieving a lump-free batter. For dairy-free alternatives, unsweetened almond milk and Smart Balance butter are excellent substitutes. These ingredients ensure the batter is smooth and easy to work with.
| Ingredient | Role | Substitutes |
|---|---|---|
| Flour Blend | Base for batter | Pillsbury, King Arthur |
| Milk | Liquid base | Unsweetened almond milk |
| Butter | Adds richness | Smart Balance butter |
| Xanthan Gum | Binds batter | None (essential for texture) |
Careful ingredient selection sets the stage for a unique experience. Whether you’re crafting a sweet or savory dish, these components ensure perfection in every bite.
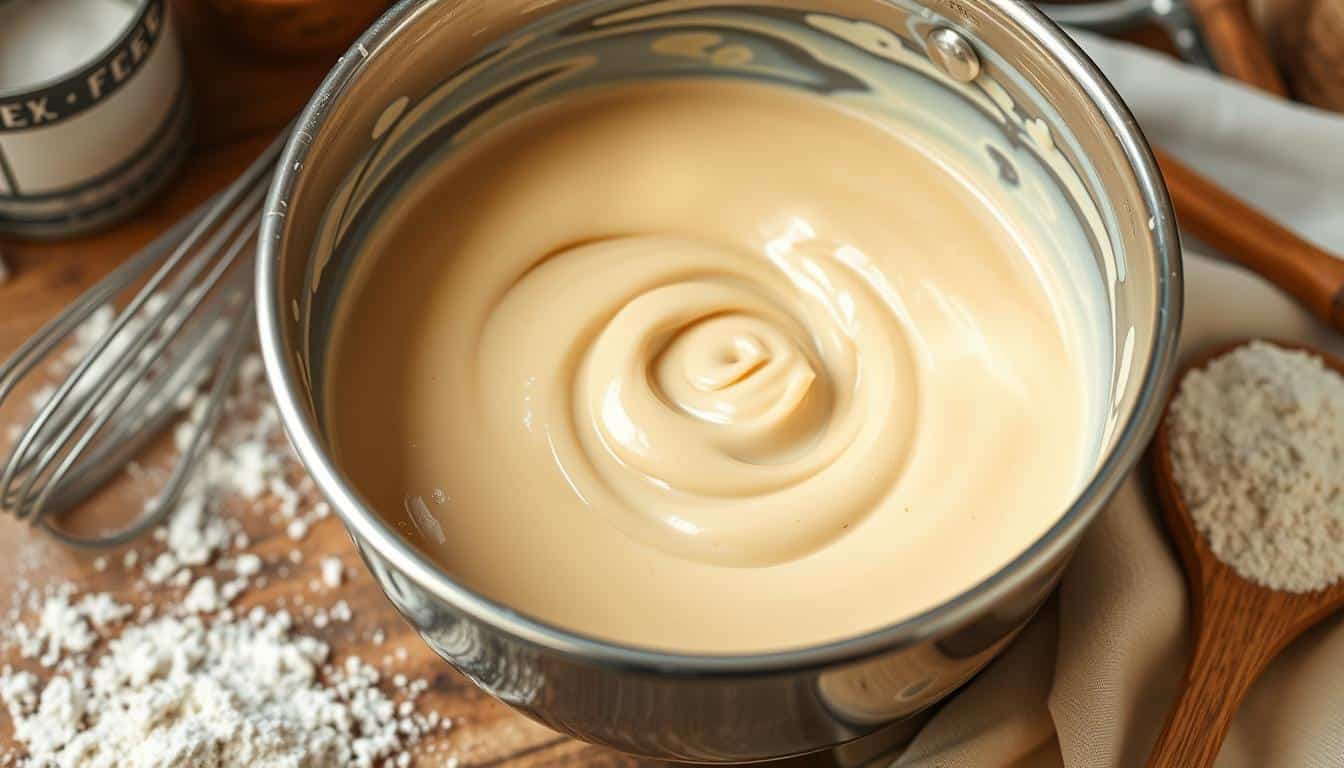
Mastering the Batter: Tips and Techniques
Crafting the perfect batter is the key to achieving light and delicate results. A well-mixed base ensures your dish turns out smooth and free of lumps. Whether you’re using a hand mixer or a blender, the process is straightforward and accessible.
Mixing Methods: Hand Mixer vs. Blender
Both a hand mixer and a blender can create a smooth consistency. A hand mixer is ideal for those who prefer a more hands-on approach. It’s easy to control and perfect for smaller batches. On the other hand, a blender offers convenience and speed, ensuring all ingredients are fully combined in just a minute.
Whichever tool you choose, avoid over-mixing. Too much time can make the batter tough. Aim for a short mix time to fully combine the ingredients without overworking them.
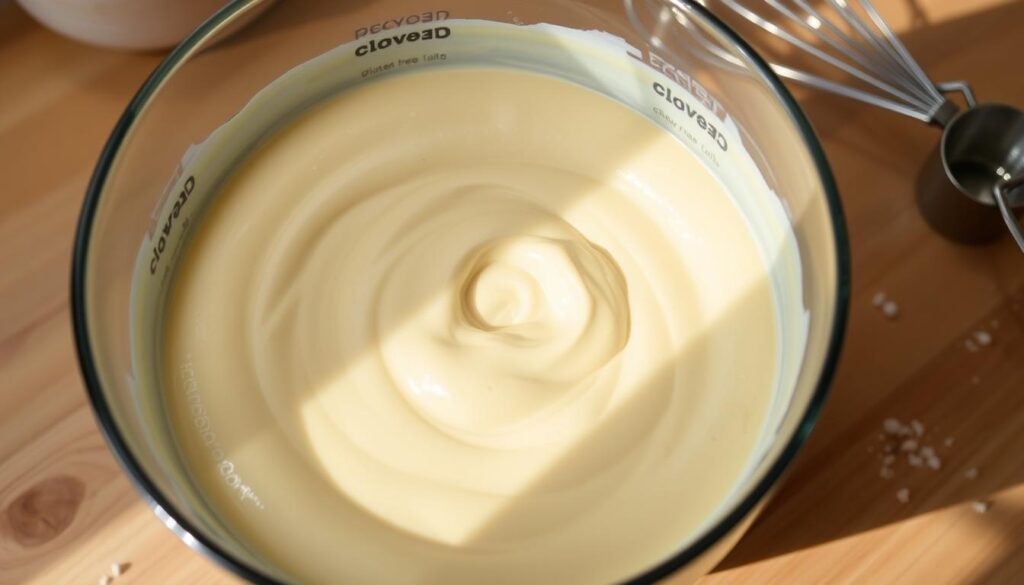
Achieving the Smooth, Lump-Free Consistency
Room-temperature ingredients are vital for a lump-free result. Cold milk or eggs can cause uneven mixing, leading to clumps. Let your ingredients sit out for a few minutes before starting.
Your batter should be noticeably runny. If it’s too thick, add a splash of milk to adjust the consistency. Resting the batter for at least an hour—or overnight—allows the flour to fully absorb the liquids, improving texture.
Preheat your pan to medium heat before cooking. This prevents the batter from seizing and ensures even cooking. With these simple techniques, you’ll achieve the ideal texture every time.
Gluten Free Crepe Recipe: Step-by-Step Instructions
Creating a light and delicate dish starts with mastering the basics. Follow these simple steps to ensure your gluten-free crepe turns out perfectly every time. With the right tools and methods, you’ll achieve a tender and flavorful result.
Preparing the Batter
Begin by gathering your ingredients. You’ll need:
- 2 large eggs
- ¾ cup milk
- ½ cup water
- 1 cup gluten-free flour
- 2 tablespoons melted butter
- 1 teaspoon xanthan gum
Combine all ingredients in a blender or mixing bowl. Blend or mix until thebatteris smooth and free of lumps. Let it rest for at least 30 minutes to allow the flour to absorb the liquids.
Cooking in a Crepe Pan for Optimal Texture
Preheat your crepe pan over medium heat. Lightly grease it with butter or oil. Pour about ¼ cup of batter into the pan, quickly swirling it to coat the surface evenly. Cook for 30-45 seconds until the edges lift slightly and the bottom is lightly browned.
Flip the crepe gently using a spatula. Cook for another 30 seconds on the second side. Slide it onto a plate and repeat the process with the remaining batter. Stack the cooked crepes with parchment paper in between to prevent sticking.
| Step | Action | Time |
|---|---|---|
| 1 | Mix ingredients | 2 minutes |
| 2 | Rest batter | 30 minutes |
| 3 | Cook each crepe | 1 minute |
These instructions ensure your gluten-free crepes are both visually appealing and deliciously tender. Whether you roll or fold them, they’re ready to be filled with your favorite ingredients.
Elevating Your Serving Game with Flavorful Fillings
Transform your meal into a gourmet experience with creative fillings. Whether you prefer sweet or savory, the right pairings can turn a simple dish into a memorable masterpiece. Here’s how to make your creations stand out.
Sweet Crepe Ideas: Nutella, Berries, and More
For a delightful treat, try these sweet combinations:
- Nutella and Bananas: Spread a tablespoon of Nutella, add sliced bananas, and fold for a rich, indulgent bite.
- Mixed Berries and Whipped Cream: Fresh strawberries, blueberries, and a dollop of whipped cream create a light, fruity option.
- Powdered Sugar and Lemon: Dust with powdered sugar and drizzle with lemon juice for a classic, tangy flavor.
Savory Options: Ham, Cheese, and Creative Twists
If you’re in the mood for something hearty, these savory ideas won’t disappoint:
- Ham and Cheese: Layer thin slices of ham and your favorite cheese for a quick, satisfying meal.
- Scrambled Eggs and Bacon: Perfect for breakfast, add scrambled eggs, crispy bacon, and a drizzle of hollandaise sauce.
- Smoked Salmon and Chives: Top with smoked salmon, a sprinkle of chives, and a touch of cream cheese for an elegant twist.
Your dish acts as a blank canvas, ready for any combination you can imagine. Experiment with both sweet and savory ingredients to suit any time of day—from breakfast to dinner. Thoughtful pairings will impress your guests and make your creations unforgettable.
Essential Tips for Perfect Texture and Tasty Crepes
Achieving the perfect texture for your dish requires attention to detail and avoiding common mistakes. From preparing the batter to cooking it just right, small adjustments can make a big difference. Here’s how to ensure your results are light, tender, and delicious every time.
Why Room-Temperature Ingredients Matter
Using cold ingredients can lead to a lumpy batter. Eggs, milk, and butter should be at room temperature before mixing. This ensures a smooth consistency and even cooking. Cold ingredients can also cause the batter to seize, making it harder to spread evenly in the pan.

Preheating Your Pan: A Crucial Step
Starting with a cold pan is a common mistake. Preheat your pan over medium heat for at least a minute before adding the batter. This prevents sticking and ensures even cooking. A properly heated pan also helps achieve that light golden edge, signaling it’s time to flip.
Measuring Flour Correctly
Using the “spoon & level” method is essential for accurate measurements. Scooping flour directly from the bag can lead to a thick, unworkable batter. This simple technique ensures the right consistency and prevents your dish from becoming rubbery.
Mixing Techniques: Avoid Overmixing
Whether you’re using a hand mixer or a blender, avoid overmixing the batter. Overworking it can make the texture tough. Mix just until the ingredients are combined, and let the batter rest for at least 30 minutes. This allows the flour to fully absorb the liquids, improving the final texture.
Timing and Temperature Control
Cook each side for about 30-45 seconds on medium heat. Watch for the edges to lift slightly and the bottom to turn light golden. Flipping too early or too late can affect the texture. Adjust the heat as needed to prevent burning or undercooking.
Adjusting for Flavor and Density
If your dish tastes bland, consider adding a pinch of salt or a teaspoon of vanilla extract. For a lighter texture, ensure your batter is runny enough. If it’s too thick, add a splash of milk to adjust the consistency.
By following these tips, you’ll avoid common pitfalls and create a dish that’s both visually appealing and delicious. Whether you’re making a sweet or savory version, these techniques ensure success every time.
Make-Ahead, Storage, and Reheat: Keep Crepes Delicious
Planning ahead can make your mornings effortless and your meals more enjoyable. Whether you’re preparing for a busy week or hosting a brunch, knowing how to store and reheat your dish ensures it stays fresh and flavorful. With these tips, you’ll maintain the delicate texture and taste of your creations.
Refrigeration, Freezing, and Stacking Guidelines
Once cooled, stack your crepes with parchment paper in between to prevent sticking. Place them in an airtight container for storage. In the fridge, they’ll stay fresh for up to 5 days. For longer storage, freeze them for 1-2 months. This method preserves their texture and makes them ready to enjoy anytime.
Chilling the batter for at least an hour before cooking can also improve consistency. This allows the flour to fully absorb the liquids, resulting in a smoother texture. If you’re preparing in advance, this step is a game-changer.
Simple Techniques for Reheating Crepes
Reheating is quick and easy. For a soft texture, warm them in a skillet over medium heat for 30 seconds on each side. Alternatively, use a microwave for 10-15 seconds. Both methods restore the crepes to their original tenderness, making them perfect for a quick breakfast or snack.
| Storage Method | Duration | Reheating Tip |
|---|---|---|
| Refrigeration | Up to 5 days | Skillet or microwave |
| Freezing | 1-2 months | Thaw before reheating |
With these techniques, your gluten-free crepes can transform from make-ahead breakfasts to restaurant-quality treats. Proper storage and reheating methods are the keys to keeping them delicious over time.
Conclusion
Mastering the art of a delicate breakfast treat brings both joy and satisfaction. Start with a flour blend that ensures a smooth texture and pair it with room-temperature milk and eggs for a lump-free batter. Preheating your pan to medium heat is crucial for even cooking and that perfect golden edge.
Follow the step-by-step process to achieve consistent results every time. Experiment with both sweet and savory fillings to make your dish uniquely yours. Whether it’s a quick breakfast or a gourmet snack, the possibilities are endless.
With practice and care, you can create a treat that’s both a nostalgic tribute and a modern delight. Share your variations and enjoy the process of making something truly special.