
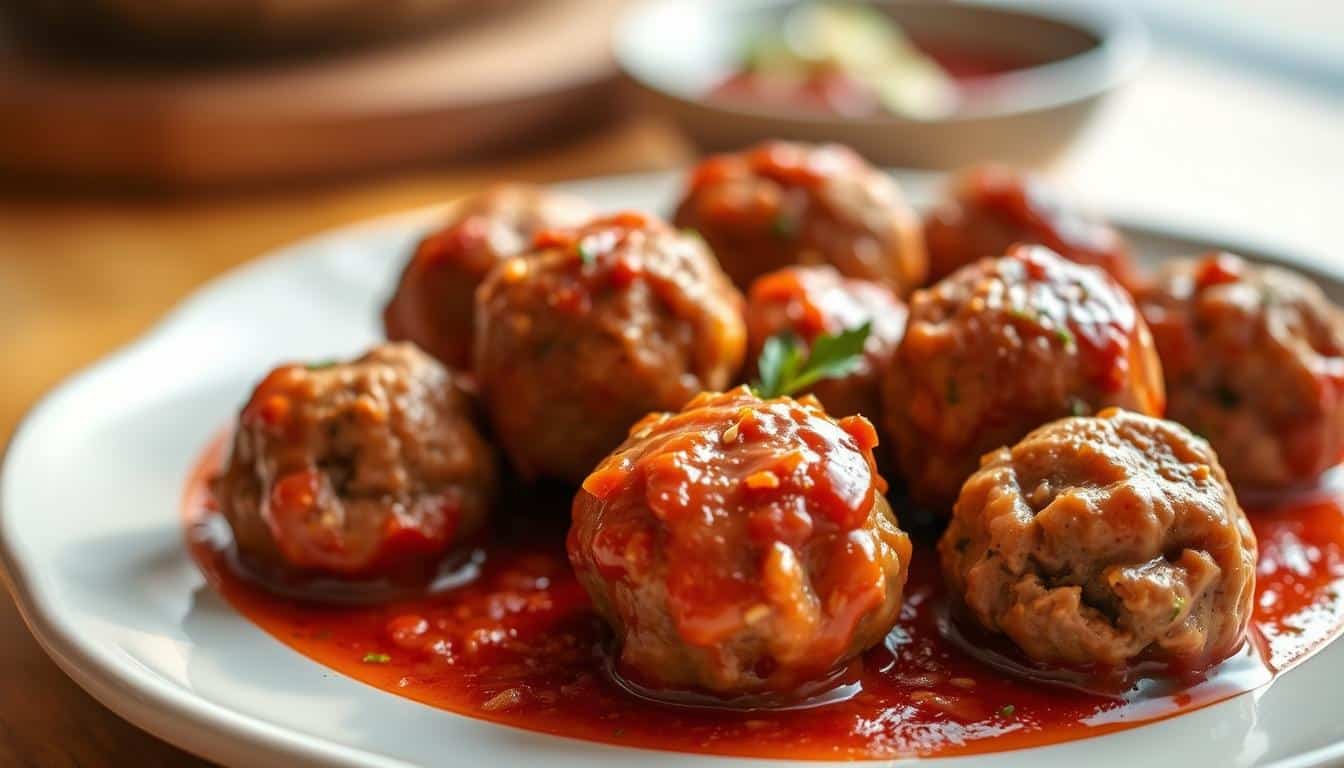
There’s something comforting about a dish that brings everyone to the table. Imagine tender, flavorful meatballs that are not only delicious but also easy to make. Whether it’s a quick weeknight dinner or a special family gathering, this recipe is here to simplify your cooking routine.
What makes these meatballs stand out? They’re perfectly spiced with rich Italian flavors and crafted with simple, quality ingredients. Plus, they’re ready in just 30 minutes! You can bake or broil them for a healthier, less greasy option, making them a guilt-free choice for any meal.
This recipe is also incredibly adaptable. Whether you’re avoiding dairy or following a specific diet, you can tweak it to suit your needs. Best of all, making them at home means you control what goes into your food, ensuring it’s fresh and wholesome.
From pairing them with pasta to stuffing them into subs, these versatile meatballs are a crowd-pleaser. Ready to create a dish that’s as memorable as it is tasty? Let’s get started!
Key Takeaways
- These meatballs are tender, flavorful, and ready in just 30 minutes.
- Perfectly spiced with rich Italian seasoning for a delicious taste.
- Baking or broiling options make them a healthier choice.
- The recipe is adaptable to suit various dietary needs.
- Ideal for any meal, from pasta dinners to subs.
Ingredients Spotlight: Gluten Free Essentials
Quality ingredients are the foundation of any great meal. When it comes to creating a dish that’s both flavorful and satisfying, every component plays a crucial role. Let’s dive into the essentials that make this recipe stand out.
Key Ingredients and Their Roles
Start with ground beef, which brings rich flavor and texture to the dish. An egg acts as a binder, holding the mixture together. For moisture, dairy or a dairy-free alternative works wonders. Don’t forget the breadcrumb or torn bread, which adds structure and softness.
One technique to elevate your dish is soaking the bread with grated onion and its juices. This step ensures extra tenderness and a burst of flavor. The combination of these ingredients creates a mixture that’s both balanced and delicious.
Choosing the Right Gluten-Free Bread and Breadcrumbs
Selecting the right bread or breadcrumb is essential. Brands like Schär offer gluten-free options that maintain authenticity in taste and texture. Whether you prefer pre-made crumbs or torn bread, both work well in this recipe.
Proper measurements are key. Use a tablespoon for accuracy and a bowl to mix everything evenly. The concept of a panade—a blend of bread, egg, and milk—ensures the perfect consistency. This step sets the stage for achieving the ideal texture in your final dish.
Versatile Flavor and Texture Profiles
The secret to a memorable meal lies in the balance of flavors and textures. When crafting a dish that stands out, the combination of ground beef and pork plays a crucial role. This blend not only enhances the flavor but also ensures a tender, juicy bite.
Using both ground beef and pork creates a complex flavor profile. Beef brings richness, while pork adds a subtle sweetness. The right percentage of fat in the mix prevents toughness, making each bite succulent.
Seasonings like garlic and Italian herbs elevate the dish. They add depth and a savory note that complements the meat. The fine texture of the ground mixture ensures even cooking and a consistent mouthfeel.
Here’s a quick breakdown of why this combination works:
| Ingredient | Role | Benefit |
|---|---|---|
| Ground Beef | Rich flavor | Adds depth and richness |
| Pork | Subtle sweetness | Enhances tenderness |
| Fat | Moisture retention | Prevents dryness |
| Garlic | Savory depth | Boosts overall flavor |
By carefully balancing these elements, you create a dish that’s layered with flavor and texture. Each bite is a testament to the harmony of ingredients.
Mastering the gluten free meatballs recipe
Cooking a dish that’s both simple and satisfying starts with the right prep. Follow these steps to ensure your creation is tender, flavorful, and perfectly cooked every time.
Step-by-Step Preparation Overview
Begin by preheating your oven to 375°F. This ensures even baking and consistent results. While the oven heats, gather your ingredients in a large bowl.
Combine the ground meat, egg, and breadcrumb mixture gently. Avoid overmixing, as this can make the texture tough. Let the mixture sit for a few minutes to absorb the flavors fully.
Use a large greased cookie scoop to form uniform 2-inch balls. This ensures even cooking and a professional presentation. Place them on a baking sheet lined with parchment paper.
Here’s a quick guide to the process:
| Step | Action | Tip |
|---|---|---|
| 1 | Preheat oven | Set to 375°F for even cooking |
| 2 | Mix ingredients | Gently combine, avoid overmixing |
| 3 | Form balls | Use a greased scoop for uniformity |
| 4 | Bake | Check after 20 minutes for doneness |
After baking, let the dish cool slightly before serving. Store any leftovers in an airtight container for up to three days. Follow these instructions carefully, and you’ll have a dish that’s both delicious and easy to prepare.
Baking vs. Broiling: Cooking Methods Compared
Choosing the right cooking method can make all the difference in your dish. Baking and broiling are two popular techniques, each offering unique benefits. Understanding how they work helps you achieve the perfect texture and flavor.
Oven Baking for Even Cooking and Clean-Up
Baking is a reliable method for even cooking. Using a baking sheet ensures your dish cooks uniformly. This method also reduces grease, making cleanup easier. Simply line the sheet with parchment paper for a mess-free experience.
While baking may take an extra hour in total prep time, it’s worth it for the consistent results. The even heat distribution prevents overcooking and keeps your dish tender. Plus, the sheet catches any drips, keeping your oven clean.
Broiling for a Crispy, Flavorful Exterior
Broiling is ideal for achieving a crispy exterior. This method uses high heat to quickly brown the surface, locking in juices. It’s perfect for adding a flavorful crust to your dish.
When broiling, use a pan that can withstand high temperatures. Keep a close eye on the time to avoid burning. Proper spacing on the sheet ensures even browning and prevents overcrowding.
Here’s a quick comparison of the two methods:
| Method | Benefits | Best For |
|---|---|---|
| Baking | Even cooking, less grease, easy cleanup | Large batches, tender results |
| Broiling | Crispy exterior, quick cooking | Adding flavor and texture |
Both methods have their strengths. Baking is great for consistent, tender results, while broiling adds a flavorful crunch. Choose based on your desired outcome and the time you have available.
Serving Suggestions: Pasta, Subs, and More
Transform your meal into a culinary experience with versatile serving ideas. Whether you’re craving a hearty dinner or a quick lunch, these serving options will elevate your dish to the next level.
Pairing with Gluten-Free Pasta and Sauces
Serve your creation with gluten-free pasta for a classic and satisfying meal. A zesty red sauce adds depth and richness, making every bite memorable. Pairing with spaghetti creates a comforting, restaurant-quality experience.
For a lighter option, toss the dish with olive oil, garlic, and fresh herbs. This simple topping enhances the flavors without overpowering them. Leftovers can be reheated directly from the bag, ensuring convenience without compromising taste.
Creative Serving Ideas
Looking for variety? Use them in subs or on gluten-free bread for a handheld meal. Add melted cheese and a drizzle of sauce for a gourmet touch. This alternative is perfect for busy weeknights or casual gatherings.
Here’s a quick guide to serving options:
| Option | Description | Best For |
|---|---|---|
| Pasta | Serve with gluten-free pasta and sauce | Hearty dinners |
| Subs | Stuff into gluten-free bread with cheese | Quick lunches |
| Toppings | Add sauce or herbs for extra flavor | Elevating the dish |
These ideas ensure your meal is versatile, delicious, and always exciting. Whether you’re hosting a dinner party or enjoying a quiet night in, these serving suggestions will impress everyone at the table.
Customizing Your Meatball: Dairy-Free and Other Options
Adapting recipes to fit dietary needs has never been easier. Whether you’re avoiding dairy or exploring new flavors, simple swaps can make a big difference. Let’s dive into how you can customize your dish to suit your preferences.
Substituting Milk and Breadcrumbs for a Dairy-Free Twist
One of the easiest swaps is replacing traditional milk with unsweetened almond milk. This dairy-free alternative keeps the dish moist without altering the flavor. It’s a great option for those with lactose intolerance or dietary restrictions.
When it comes to free breadcrumb options, gluten-free varieties work perfectly. Brands like Schär offer crumbs that maintain the texture and structure of traditional breadcrumbs. Using these ensures your dish stays true to its meatball gluten-free standards.
Adding a dash of garlic enhances the flavor, even with dairy substitutions. It brings a savory depth that complements the other ingredients. These simple changes make the recipe versatile and accessible for everyone.
- Swap dairy milk for unsweetened almond milk for a dairy-free option.
- Use gluten-free free breadcrumb alternatives to maintain texture.
- Ensure meatball gluten-specific products for consistency.
- Add garlic for a flavorful punch, even without dairy.
- Experiment with ingredient swaps to meet dietary needs.
With these tips, you can create a dish that’s both delicious and tailored to your lifestyle. Customization doesn’t have to be complicated—small changes can lead to big results.
Make Ahead and Freezing Techniques for Your Meatballs
Planning ahead can save you time and effort in the kitchen. Whether you’re preparing for a busy week or stocking up for future meals, freezing your creations is a smart strategy. With the right techniques, you can enjoy homemade dishes anytime without the hassle.
Freezing Uncooked Meatballs for Later Use
Start by shaping your mixture into uniform balls. Place them on a baking sheet lined with parchment paper, ensuring they don’t touch. This step, known as flash freezing, prevents them from sticking together.
After about an hour in the freezer, transfer the balls to a freezer bag or airtight container. Label the bag with the date to keep track of freshness. This method ensures your dish stays flavorful and ready to cook whenever you need it.
Reheating Tips to Maintain Moisture and Flavor
When it’s time to enjoy your meal, proper reheating is key. If using the oven, preheat it to 350°F and place the dish on a baking sheet. Cover with foil to lock in moisture and heat for about 15-20 minutes.
For a quicker option, use the microwave. Place the balls in a microwave-safe dish, add a splash of water, and cover with a lid. Heat in 30-second intervals, checking to make sure they’re warmed through. This method keeps them tender and juicy.
Following these steps ensures your dish retains its texture and flavor, making it a convenient option for busy nights.
Essential Equipment and Prep Tools for Success
Having the right tools in your kitchen can make cooking a breeze. Whether you’re a seasoned chef or a beginner, the right equipment ensures efficiency and consistency. Let’s explore the must-have items that will streamline your prep process and elevate your results.
Start with a large bowl for mixing your ingredients. This ensures everything combines evenly without spills. A heavy-bottomed skillet, preferably cast iron, is perfect for searing and achieving a golden crust. It’s durable and distributes heat evenly for consistent cooking.
For storing unused mixtures, invest in a high-quality container. This keeps your ingredients fresh and ready for future use. Airtight options are ideal for maintaining flavor and preventing spills in your fridge.
Prep tools like a cookie scoop and accurate measuring cups are game-changers. They ensure uniformity in size and texture, making your dish look professional. Here’s a quick list of essentials:
- Large bowl for mixing ingredients.
- Cast iron skillet for even cooking.
- Quality container for storage.
- Cookie scoop for uniform shaping.
- Measuring cups for precise ingredient amounts.
Using the right tools not only saves time but also improves the overall quality of your dish. Invest in durable equipment, and you’ll notice a significant difference in your cooking efficiency and results.
Enhancing Flavor with Homemade Sauces and Spices
The right sauce can transform a simple dish into a culinary masterpiece. Whether you’re pairing it with pasta or using it as a dip, a well-crafted sauce adds depth and richness to your cooking. Let’s explore how to create the perfect marinara and spice blends that elevate your dish to the next level.

Crafting the Perfect Marinara Sauce
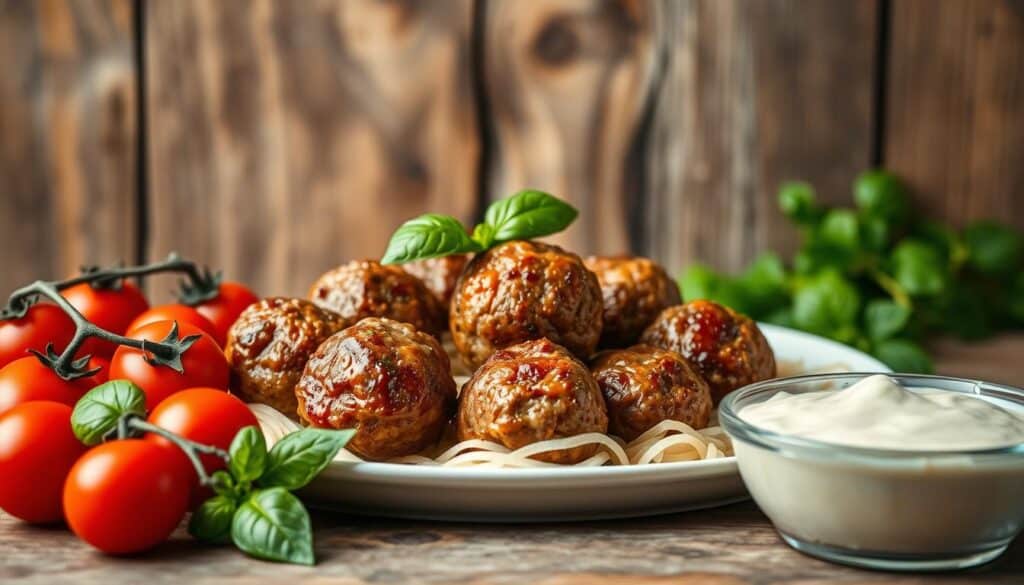
Start with fresh, high-quality ingredients like ripe tomatoes, fresh basil, and minced garlic. Simmer these together with a splash of olive oil to create a robust sauce that complements your dish perfectly. Adding a pinch of sugar balances the acidity of the tomatoes, while a tablespoon of red wine vinegar enhances the flavor.
This homemade sauce isn’t just delicious—it’s also packed with vitamin C and antioxidants from the tomatoes. It’s a healthier alternative to store-bought options, and you can adjust the seasoning to suit your taste.
Secret Spice Blends for Authentic Italian Flavor
Spices are the soul of Italian cooking. A blend of oregano, basil, and thyme adds an earthy, aromatic touch to your dish. For a bolder flavor, include crushed red pepper flakes or smoked paprika. Measuring your spices with a tablespoon ensures consistency and balance in every bite.
Here’s a quick guide to creating your own spice blend:
| Spice | Flavor Profile | Best Pairing |
|---|---|---|
| Oregano | Earthy, slightly bitter | Tomato-based sauces |
| Basil | Sweet, slightly peppery | Fresh salads or pasta |
| Thyme | Subtle, floral | Roasted vegetables |
| Red Pepper Flakes | Spicy, bold | Meat dishes |
Experiment with these blends to find your perfect match. Whether you’re cooking for a crowd or just for yourself, these tips will help you create a dish that’s bursting with flavor.
The Science Behind Tender and Juicy Meatballs
Understanding the science behind cooking can elevate your dish to perfection. Achieving tender and juicy results isn’t just about following a recipe—it’s about knowing how ingredients interact. Let’s break down the key factors that make a difference.
Understanding Binding Agents and Moisture Retention
Binding agents like eggs play a crucial role in keeping your dish together. Eggs act as a glue, ensuring the mixture holds its shape without becoming tough. Overworking the mixture can lead to a dense texture, so gentle mixing is essential.
The quality of your ground beef also matters. Opt for a blend with a higher fat content, as fat helps retain moisture during cooking. This ensures each bite stays juicy and flavorful. Leaner cuts can result in a drier texture, so balance is key.
Ingredients like breadcrumbs and onions add fiber, which helps maintain a light, fork-tender result. The fiber absorbs moisture, preventing the dish from becoming too dense. This combination of ingredients creates the perfect balance of texture and flavor.
Here’s a quick guide to achieving the ideal result:
- Use eggs as a binding agent to keep the mixture intact.
- Choose ground beef with a higher fat content for moisture retention.
- Add ingredients rich in fiber to maintain a light texture.
- Mix gently to avoid overworking the mixture.
- Balance flavors with herbs and spices for added depth.
By understanding these principles, you can create a dish that’s tender, juicy, and full of flavor. Science and technique go hand in hand to deliver the perfect result every time.
Troubleshooting and Expert Tips for Gluten-Free Cooking
Mastering gluten-free cooking requires attention to detail and a few expert tricks. Whether you’re a beginner or a seasoned cook, knowing how to troubleshoot common issues can make all the difference. Let’s dive into strategies to ensure your dish turns out perfectly every time.
Avoiding Common Mistakes in Preparation
One of the most frequent errors is overmixing the ground mixture. This can lead to a tough texture instead of the desired tenderness. Mix gently and just enough to combine the ingredients. Overworking the mixture is a common pitfall that’s easy to avoid.
Another mistake is not monitoring the cooking time closely. Each minute counts when ensuring your dish is cooked through. Undercooked centers can be a problem, so keep a close eye on the process.
Using the right tools is also crucial. A pan that distributes heat evenly prevents uneven cooking. Follow the instruction carefully to achieve the best results. Skipping steps or improvising too much can lead to disappointing outcomes.
Pro Tips from Gluten-Free Cooking Experts
Experts recommend using a meat thermometer to ensure your dish reaches an internal temperature of 165°F. This guarantees safety and perfect doneness. It’s a simple tool that can make a big difference.
Monitoring each minute of cooking is another pro tip. Set a timer to avoid overcooking or undercooking. This ensures your dish is flavorful and tender.
When shaping your mixture, use a cookie scoop for uniformity. This helps them cook evenly and look professional. Cast your vote for success by following these expert tips.
| Tip | Benefit |
|---|---|
| Use a meat thermometer | Ensures perfect doneness |
| Monitor cooking time | Prevents undercooked centers |
| Mix gently | Avoids tough texture |
| Follow instructions | Guarantees consistent results |
By applying these strategies, you can elevate your gluten-free cooking to the next level. Make sure to follow each step carefully and use the right tools for the job. With these tips, your dish will be a hit every time.
Conclusion
Creating a dish that’s both flavorful and adaptable is easier than you think. This recipe combines simple ingredients like ground meat and herbs to deliver tender, juicy results every time. Whether you’re baking or broiling, the process is straightforward and fits into even the busiest schedules.
With the right tools and techniques, you can avoid common pitfalls and achieve perfect texture. Use a sauce of your choice to elevate the dish, whether it’s a classic marinara or a creamy alternative. The versatility of this recipe makes it ideal for pasta, subs, or even as a standalone appetizer.
Give it a try and experience the authentic taste of Italian-inspired cooking at home. Share your results and let us know how it turned out. Experiment with variations to make it your own, knowing the process is backed by expert advice and science.