How Do I Get Batter to Stick to Fish?
Fried fish with a perfectly crispy, golden batter can be irresistible, but getting that batter to stick can feel like solving a mystery. Many cooks struggle with batter sliding off or failing to adhere during frying. This guide dives into the science and art of achieving flawless batter adhesion. From preparation and technique to troubleshooting, you’ll find all the tips and tricks you need for success.
Table of Contents
- Introduction to Getting Batter to Stick
- Preparing the Fish
- Creating the Perfect Batter
- Applying the Batter
- Cooking the Fish
- Common Mistakes and How to Avoid Them
- Tips for Serving Battered Fish
- FAQs Section
- Nutritional Information (Per 100g)
- Conclusion and Final Thoughts
Introduction to Getting Batter to Stick
Why Batter Sticking Matters
A perfectly battered fish is not just about aesthetics; it’s about creating the ultimate texture and flavor combination. When the batter doesn’t stick, you’re left with uneven coating or, worse, bare fish. This compromises the crunchiness and leaves you with soggy or dry spots. Getting the batter to adhere ensures that every bite is crispy, flavorful, and picture-perfect.
Common Problems with Batter Not Sticking
Many factors can ruin your battering attempts. Fish that’s too moist, batter that’s too thin, or improper frying techniques can lead to the batter slipping right off. Sometimes, it’s as simple as not letting the batter rest before cooking. Other culprits include overcrowded pans, incorrect oil temperature, and using the wrong utensils for flipping. Knowing these pitfalls is the first step to avoiding them.
Overview of Techniques and Tools Needed
To master the art of battering fish, you’ll need the right ingredients, tools, and steps:
- Patting the fish dry is essential to remove excess moisture.
- A consistent batter with the right viscosity works wonders.
- Frying in hot, clean oil in a non-stick pan ensures success.
Additionally, a spatula instead of tongs is your best friend for maintaining that intact crispy coating. In the next section, we’ll tackle fish preparation, which is the foundation for a successful battering experience.
Preparing the Fish
Pat the Fish Dry: A Crucial First Step

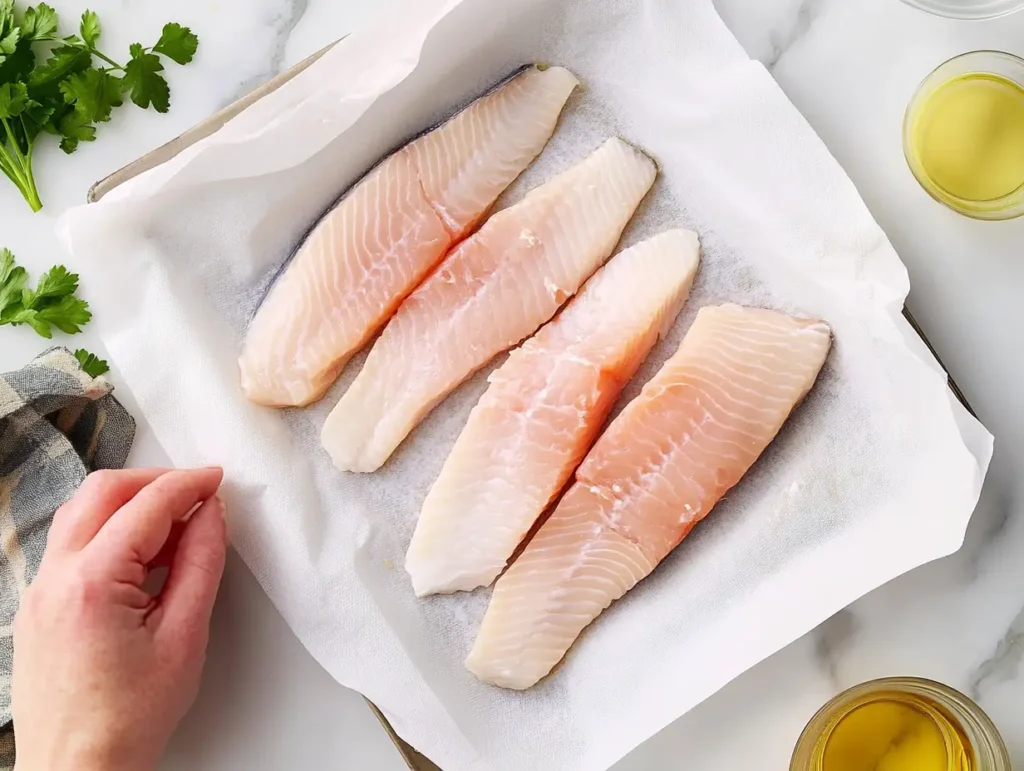
One of the golden rules of making batter stick to fish is ensuring the fish is completely dry. Excess moisture is the enemy of adhesion, causing the batter to slide right off during frying. Use paper towels or a clean kitchen cloth to gently pat each piece of fish until it feels dry to the touch. This simple step is a game-changer, creating the perfect base for the batter.
Selecting the Right Fish: Skin and Moisture Considerations
Not all fish are created equal when it comes to batter adhesion. Skin-on fish can make it harder for the batter to stick. Opt for skinless varieties like cod, haddock, or tilapia, which are great for frying. Avoid overly moist fish, as they tend to release water during cooking, undermining the batter’s ability to stay intact.
Using Dry Ingredients Before Batter
Here’s a pro tip: start with a light coat of dry ingredients before dipping your fish in the batter. A dusting of flour or cornstarch forms a dry layer on the fish’s surface, giving the batter something to cling to. This step is particularly effective if you’re dealing with naturally moist fish.
Creating the Perfect Batter
Ingredients for Success: Flour, Cornmeal, and More
The foundation of a great batter is the right mix of ingredients. Flour and cornstarch are staples, but adding cornmeal can give your fish an extra crunch. For a unique twist, you can experiment with panko breadcrumbs or gluten-free flour if dietary restrictions apply. Season the dry mix with salt, pepper, and spices to ensure every bite is flavorful.
Egg-Based vs. Eggless Batters: Pros and Cons
Eggs play a critical role in helping batter stick to fish by acting as a natural adhesive. However, if you’re avoiding eggs, an eggless batter made with a combination of milk, water, and baking powder can work wonders too. Whichever option you choose, aim for a smooth consistency that coats the fish evenly without being overly thick or runny.
Consistency of Batter: How Thick Is Too Thick?
Finding the perfect batter consistency is key. It should be thick enough to coat the fish fully but not so heavy that it overwhelms the flavor. If the batter drips excessively, it’s too thin—add a bit more flour. If it clumps, dilute it with a splash of cold water. A smooth batter ensures even cooking and a crispy golden crust.
Applying the Batter
Steps for Coating Fish Evenly
Getting the batter to stick evenly to fish requires a little patience and the right technique. Start by holding the fish piece firmly but gently. Dip it into your pre-prepared dry ingredients, such as flour or cornstarch, ensuring every inch is covered. Shake off the excess before moving on to the batter. Submerge the fish into the batter, turning it to coat completely. To avoid uneven spots, let the batter drip for a few seconds, ensuring only a thin, even layer remains.
Letting the Batter Rest Before Frying
Once your fish is coated, don’t rush to the frying pan just yet. Resting the battered fish for 5–10 minutes allows the coating to adhere firmly to the surface. This short pause can prevent the batter from sliding off during frying. Meanwhile, you can prepare your frying station, ensuring everything is within easy reach.
Avoiding Batter Drips: Pro Tips
To minimize mess, use one hand for dry ingredients and the other for wet batter. This method, often called the “wet hand/dry hand” technique, keeps your hands clean and avoids excessive batter clumping. Additionally, gently tapping the fish after dipping it in batter helps remove excess coating and ensures a consistent crust once fried.
For more fried recipes, explore Long John Silvers Batter Recipe on CellRecipes.
Cooking the Fish
Choosing the Right Cooking Oil and Pan
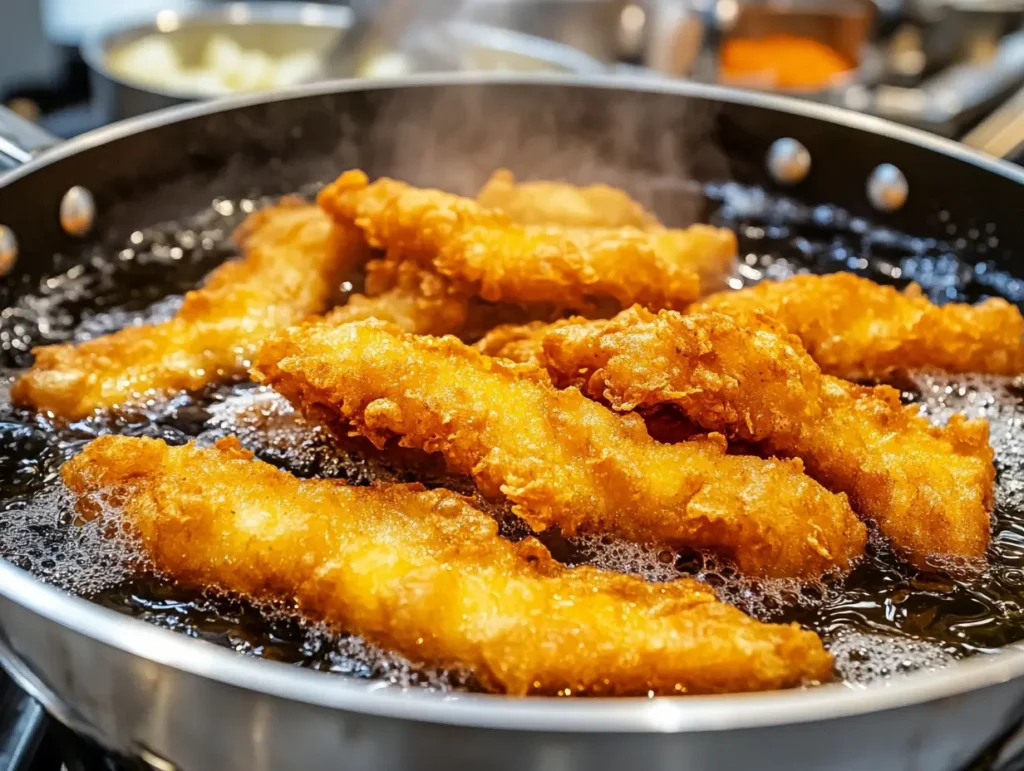
The choice of oil and pan significantly impacts how well your batter sticks. Use oils with high smoke points, such as vegetable, canola, or peanut oil, for frying. A non-stick or well-seasoned cast iron pan prevents sticking and ensures a smooth cooking process. Before adding the fish, heat the oil to around 350–375°F to achieve that sought-after crispy texture.
Optimal Oil Temperature for Crisp Results

Temperature control is key when frying battered fish. If the oil is too cool, the batter will absorb it, resulting in a greasy texture. Too hot, and the batter burns before the fish cooks through. Use a kitchen thermometer to maintain a steady temperature. Test the heat by dropping a small amount of batter into the oil—if it sizzles and floats, you’re good to go.
Techniques for Flipping Without Damaging Batter
Flipping battered fish can be tricky, but with the right tools, it’s a breeze. Use a wide spatula to gently lift the fish, then turn it with a smooth motion. Avoid using tongs, as they can tear the delicate coating. Cook one side until golden brown, then carefully flip it to cook the other. Remember, patience is your ally for perfectly fried fish.
If you’re looking for vegan alternatives, don’t miss our Easy Vegan Mushroom Recipes for Beginners.
Common Mistakes and How to Avoid Them
Overcrowding the Pan: Why It Ruins Batter
One of the most common pitfalls when frying battered fish is overcrowding the pan. When too many pieces are added at once, the oil temperature drops, leading to soggy batter instead of a crisp, golden crust. Additionally, the fish pieces may stick together, ruining the coating. To avoid this, fry in small batches, leaving enough room for each piece to move freely in the pan.
Stacking Cooked Fish: A Recipe for Disaster
After frying, stacking your fish pieces might seem like a space-saving move, but it can ruin all your hard work. Stacking traps steam, softening the crispy batter you worked so hard to achieve. Instead, lay the cooked fish in a single layer on a wire rack or paper towels. This allows the crust to stay crisp while draining excess oil.
Using Tongs Instead of Spatulas: A No-Go
When flipping or handling battered fish, tongs can damage the delicate coating, pulling it off in patches. A flat, wide spatula is the best tool for keeping the batter intact. Slide the spatula gently under the fish and lift with care to preserve its perfect coating.
Tips for Serving Battered Fish
Keeping Batter Intact While Serving
Serving fried fish requires a bit of finesse to maintain its visual and textural appeal. Use a spatula to transfer the fish to the plate, avoiding any rough handling. If you’ve followed the steps carefully, the batter should stick firmly to the fish, but gentle handling ensures it stays intact until it’s on the table.
Pairing Batter-Fried Fish with Sides and Sauces
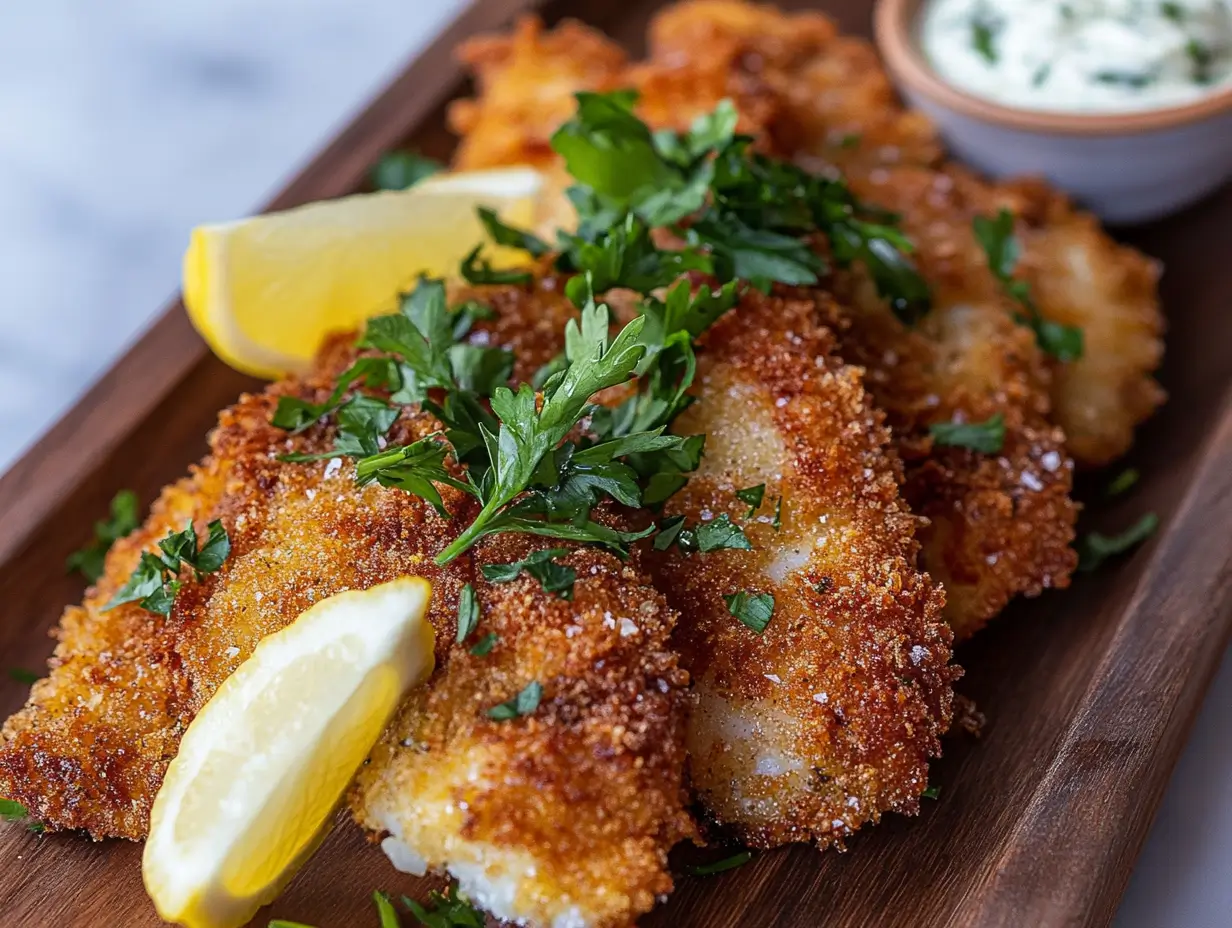
Battered fish pairs beautifully with simple sides and dips. Tartar sauce, lemon wedges, or even a homemade remoulade can complement its rich flavor. For sides, consider coleslaw, fries, or a light salad. These options balance the crispy, golden fish with fresh or creamy elements, creating a satisfying meal.
Storing Leftover Fish Without Ruining the Batter
If you have leftovers, proper storage is crucial to maintaining the batter’s crispiness. Let the fish cool completely before placing it in an airtight container. Avoid stacking, as this can damage the coating. Reheat in the oven or air fryer to restore its crunch, rather than microwaving, which often makes the batter soggy.
For more inspiration on preserving your culinary creations, explore recipes like Texas Roadhouse Green Bean Recipe on CellRecipes.
FAQs Section
Why Does My Batter Fall Off During Frying?
A common question many cooks ask is, “How do I get batter to stick to fish?” Batter often falls off due to moisture on the fish or improper preparation. Always pat the fish dry before starting and coat it with a light layer of flour or cornstarch to help the batter adhere. Additionally, avoid overcrowding the pan, as this can cause the batter to rub off and stick to other pieces.
Can I Use Gluten-Free Ingredients for Batter?
Absolutely! Substituting all-purpose flour with gluten-free alternatives like rice flour, chickpea flour, or cornstarch works well for a crispy, gluten-free batter. The process remains the same: dry the fish, coat with a light dusting of flour, and dip it into your batter.
What’s the Best Type of Oil for Frying Fish?
When frying fish, use an oil with a high smoke point, such as vegetable oil, peanut oil, or canola oil. These oils heat evenly, ensuring your batter turns golden and crispy without burning. Avoid olive oil, as it has a lower smoke point and can alter the flavor of the fish.
How Do I Prevent the Fish from Sticking to the Pan?
To keep the fish from sticking to the pan, ensure the oil is hot enough before adding the fish. Preheat the oil to 350–375°F, and always use a non-stick or cast-iron pan. Once the fish is in the pan, let it cook undisturbed on one side before flipping gently with a spatula.
Conclusion and Final Thoughts
Recap of Key Techniques
Creating perfect batter-fried fish requires attention to detail, but the results are worth it. By preparing the fish properly, using the right batter consistency, and maintaining optimal frying conditions, you can ensure the batter sticks and stays crispy. Remember the importance of drying the fish, using flour as a base layer, and allowing the batter to rest before frying.
Encouragement to Experiment with Different Recipes
Now that you know the answer to “How do I get batter to stick to fish?” it’s time to experiment with your favorite flavors and techniques. From gluten-free options to spicy batters, there’s endless room for creativity. Try different types of fish, seasonings, and sides to make every meal unique. With these tips, you’ll enjoy perfectly battered fish every time.
Nutritional Information (Per 100g)
Nutritional Content of Battered Fish
Here is the nutritional breakdown for a typical serving of battered fried fish per 100 grams. Please note that values may vary depending on the ingredients and frying method used.
| Nutrient | Amount (Per 100g) |
|---|---|
| Calories | 250 kcal |
| Protein | 15 g |
| Carbohydrates | 20 g |
| Fat | 12 g |
| Saturated Fat | 2 g |
| Cholesterol | 60 mg |
| Sodium | 350 mg |
| Fiber | 1 g |

